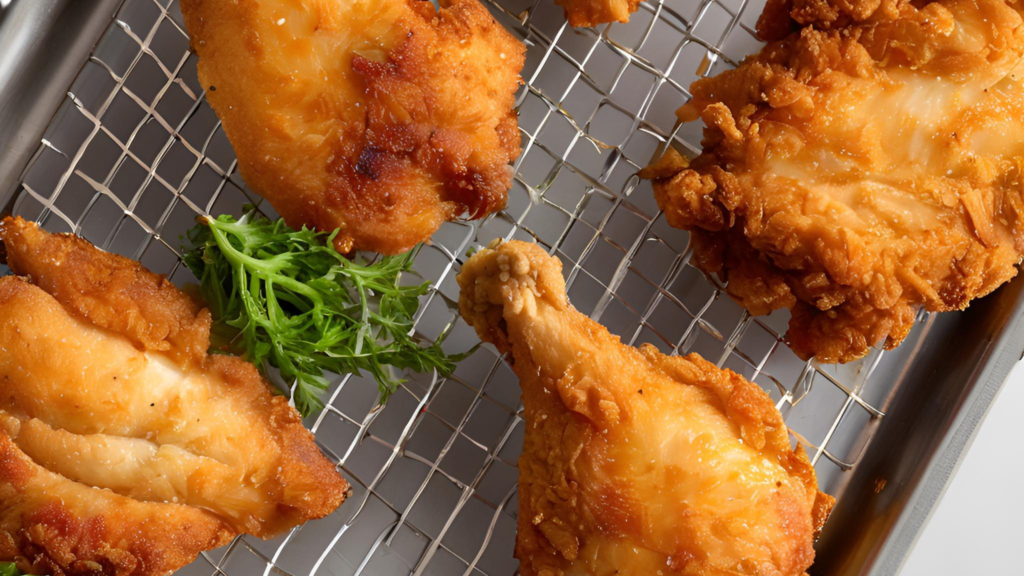
When it comes to crispy chicken strips, we can all agree: there’s something irresistible about that perfect crunch paired with juicy, tender chicken. Whether you’re planning a family dinner, impressing guests, or satisfying a late-night craving, this crispy chicken recipe will knock your socks off! It’s easy, delicious, and comes with some handy tips to ensure your chicken is crispy every single time. Let’s dive in!
Table of Contents
Why Crispy Chicken Strips Are Everyone’s Favorite

Crispy chicken strips are more than just food—they’re an experience. The golden-brown crust that shatters with each bite, combined with the succulent chicken inside, is pure bliss. But what makes them universally loved?
Nostalgia on a Plate
For many, crispy chicken evokes memories of childhood dinners, fast-food runs, and special occasions. The comfort it brings makes it a staple for all ages.
Perfect for Any Occasion
From game nights to elegant dinners, crispy chicken fits right in. Pair it with fries, coleslaw, or a tangy dipping sauce, and you’ve got a winner.
Explore more chicken recipes here.
The Secret Ingredients for Crispy Perfection
Your Shopping List
Here’s what you’ll need:
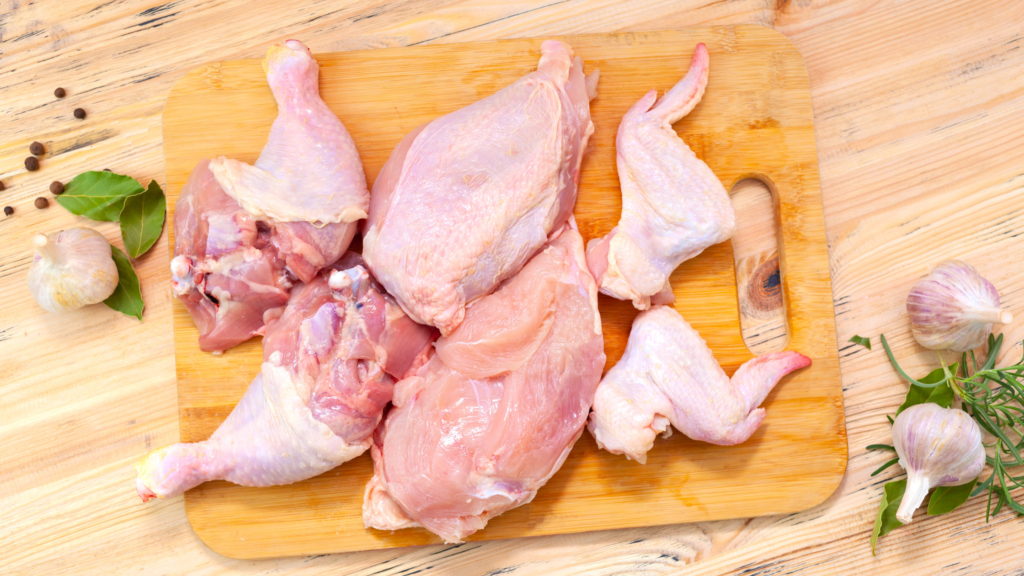
- 1 (4-pound) chicken, cut into pieces
- 1 cup buttermilk
- 2 cups all-purpose flour (for coating)
- 1 teaspoon paprika
- Salt and pepper, to taste
- 2 quarts vegetable oil, for frying
Why These Ingredients Matter
The Buttermilk Magic
Soaking chicken in buttermilk isn’t just tradition; it’s science. Buttermilk tenderizes the chicken, ensuring it stays juicy.
Flour and Paprika Combo
Paprika not only enhances flavor but also helps achieve that desirable golden-brown hue. The flour creates a solid foundation for the crispy coating.
Step-by-Step Guide: Mastering Crispy Chicken
1. Prep Your Chicken

Take your chicken pieces and decide if you’d like to skin them. Removing the skin will make the chicken lighter, while keeping it on adds an extra layer of flavor and crunch.
2. Season the Flour

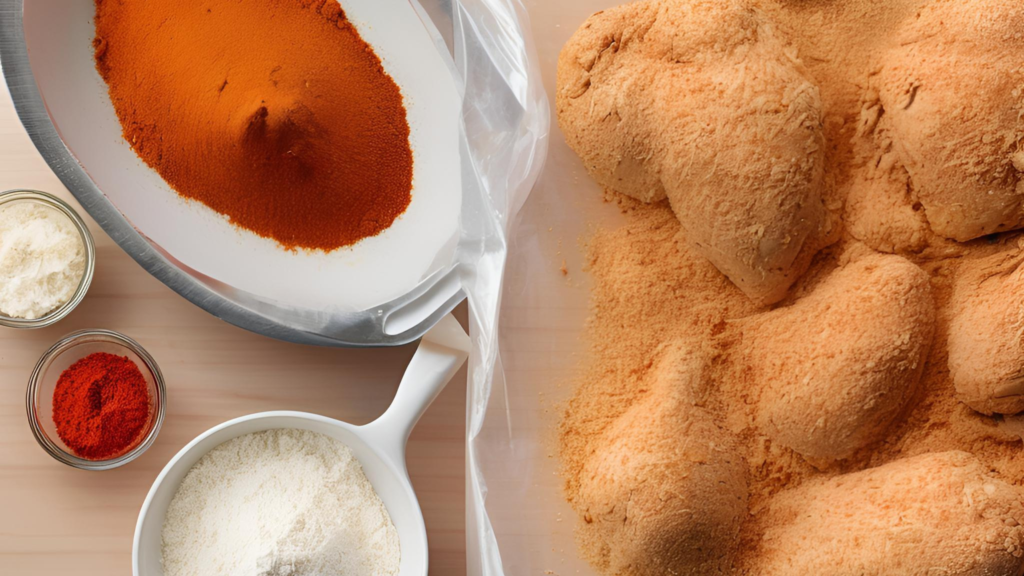
Place the flour in a large plastic bag and season it generously with paprika, salt, and pepper. Pro tip: Taste the seasoned flour—it’ll give you an idea of how your chicken will taste.
3. Dip and Coat
Dip each chicken piece in buttermilk, letting any excess drip off. Then, pop it into the bag of flour. Seal the bag and shake vigorously until the chicken is well-coated.
4. Let It Sit
Here’s the game-changer: place the coated chicken on a tray and cover it. Let it sit until the flour reaches a paste-like consistency. This ensures the coating sticks firmly and fries up perfectly.
The Art of Frying: Tips for Perfect Results
5. Heat the Oil
Fill a large skillet (cast iron works best) with vegetable oil, about 1/3 to 1/2 full. Heat the oil until it’s VERY hot. You can test it by dropping a pinch of flour—if it sizzles immediately, you’re good to go.
6. Fry in Batches
Add as many chicken pieces as the skillet can comfortably hold. Fry on both sides until browned. Remember: overcrowding cools the oil and results in soggy chicken.
7. The Secret to Crispy Perfection
After browning, reduce the heat and cover the skillet. Let the chicken cook for 30 minutes. This ensures the meat is cooked through. Then, uncover and increase the heat to finish frying until crispy.
Find more tips for frying chicken here.
Serving Ideas for Crispy Chicken
Classic Pairings
Serve your crispy chicken with:
- Creamy mashed potatoes
- Tangy coleslaw
- Fluffy biscuits
Modern Twists
Try these creative ideas:
- Chop the chicken and toss it into a salad for added crunch.
- Use crispy chicken strips in wraps with fresh veggies and your favorite sauce.
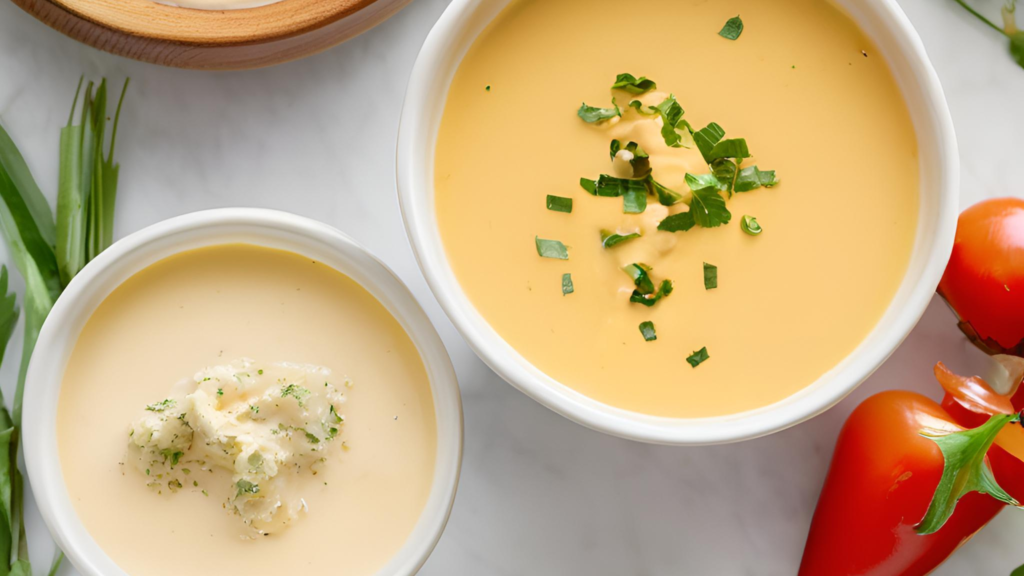
Dipping Sauces You’ll Love

- Honey Mustard: A sweet and tangy classic.
- Spicy Sriracha Mayo: Add some heat!
- Garlic Ranch: For a creamy, herby kick.
Pro Tips for Storing and Reheating
Storing Leftovers
Place any leftover chicken in an airtight container and refrigerate for up to 3 days.
Reheating for Crunch
Reheat in an oven or air fryer to maintain crispiness. Avoid the microwave—it’ll make the coating soggy.
Why This Recipe Will Be Your Go-To
It’s simple, foolproof, and delicious. Plus, it uses pantry staples, making it perfect for last-minute meals. Ready to wow your taste buds? Get frying!
For more delicious chicken recipes, visit TasteGia today.
Frequently Asked Questions (FAQ)
1. Can I use chicken breasts instead of a whole chicken?
Absolutely! Chicken breasts, tenders, or even thighs can work for this recipe. Just adjust the cooking time to ensure they’re cooked through.
2. How do I make my chicken extra crispy?
Letting the coated chicken sit until the flour becomes paste-like is crucial. Also, make sure the oil is hot enough before frying—this creates the perfect crunch.
3. What can I use instead of buttermilk?
If you don’t have buttermilk, you can make a substitute by mixing 1 cup of milk with 1 tablespoon of vinegar or lemon juice. Let it sit for 5 minutes before using.
4. Can I bake this instead of frying?
Yes, you can bake the chicken at 400°F (200°C) for about 25-30 minutes. Use a wire rack on a baking sheet for even crispiness, and spray the chicken with cooking oil before baking.
5. How do I know the oil is hot enough for frying?
Drop a small piece of coated chicken or a pinch of flour into the oil. If it sizzles immediately, the oil is ready.
6. Can I freeze the leftovers?
Yes, freeze the cooked chicken in an airtight container for up to 3 months. Reheat in the oven or air fryer to maintain crispiness.
7. What dipping sauces pair well with crispy chicken?
Some popular choices include honey mustard, barbecue sauce, spicy sriracha mayo, or garlic ranch. Get creative and try your own combinations!


1 thought on “Crispy Chicken: 7 Irresistible Secrets to Perfect Strips!”